Realtime plotting
Realtime plotting refers to plots that updates as represent the data as it is available. There are many applications that allows to do this, but we will focus on custom, ad-hoc solution using PyQtGraph and Python3 scripts.
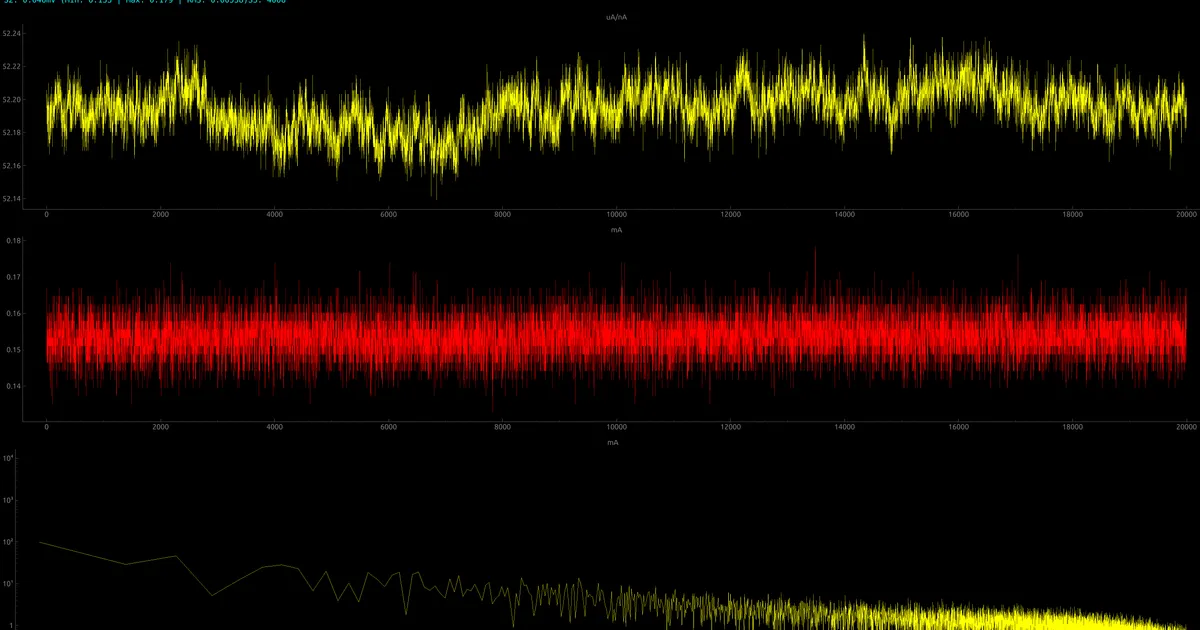
When working on maker projects, whether you are monitoring sensors with an Arduino, a Raspberry Pi, or an ESP32, you eventually hit a wall: you want to see your data in real-time. If you have tried using Matplotlib for this, you probably noticed that once you hit a few hundred data points, the interface starts to stutter and freeze. This is where PyQtGraph saves the day.
Why PyQtGraph?
Unlike other libraries, PyQtGraph is built on top of Qt and leverages NumPy for heavy data lifting. It is incredibly fast, allowing you to zoom and pan through your data even while it’s updating at high frequencies without any lag.
Setting up the environment
First, let’s make sure you have the necessary dependencies. We will use the latest versions compatible with Python 3.
python3 -m pip install pyqt6 pyqtgraph numpyNote
In recent updates, pyqtgraph recommends using PyQt6 or PySide6 for better compatibility with modern operating systems.
The “Hello World” of Real-Time Plotting
In this example, we will simulate a live sensor signal. The secret to smooth performance is using a QTimer. This ensures the UI stays resposive while the data updates in the background.
import pyqtgraph as pgfrom pyqtgraph.Qt import QtCore, QtWidgetsimport numpy as np
class RealTimePlot: def __init__(self): # 1. Initialize the application and the window self.app = QtWidgets.QApplication([]) self.win = pg.GraphicsLayoutWidget(show=True, title="Laboratorio Gluon: Real-Time Plot") self.plot = self.win.addPlot(title="Live Sensor Data")
# 2. Configure the curve and data buffer self.curve = self.plot.plot(pen='y') # Yellow pen for that classic lab look self.data = np.zeros(100) self.ptr = 0
# 3. Setup a QTimer for periodic updates self.timer = QtCore.QTimer() self.timer.timeout.connect(self.update) self.timer.start(50) # Update every 50ms (approx. 20 FPS)
def update(self): # Shift data to the left to create a scrolling effect self.data[:-1] = self.data[1:] self.data[-1] = np.random.normal() # Replace this with your sensor read!
# Update the plot curve self.curve.setData(self.data)
def run(self): self.app.exec()
if __name__ == '__main__': graph = RealTimePlot() graph.run()Pro Tips for your script
A common mistake when starting out is using a while True loop with time.sleep().
Don’t do this! It will freeze your GUI. QTimer is the proper way to tell your computer:
“Hey, run this function every X milliseconds, but let me keep interacting with the window.”
There are two points that need attention:
- Antialiasing: It makes the lines look much smoother, though it requires a bit more GPU power.
- Frame rate: 50ms (20 FPS) is the “sweet spot.” It looks fluid to the human eye but keeps the CPU usage low enough for a Raspberry Pi to handle.
Using real data from PySerial into PyQtGraph
To make this useful for a real lab setup, we need to pull data from a microcontroller. We’ll use the pyserial library.
python3 -m pip install pyserialNow, we need to modify our script. Instead of generating random numbers, we will read the values from the serial line, and plot them. For this example, we expect the data come as one float number per line.
13.1123.556.123.4import serialimport pyqtgraph as pgfrom pyqtgraph.Qt import QtCore, QtWidgetsimport numpy as np
class RealTimeSerialPlot: def __init__(self, port='/dev/ttyUSB0', baudrate=9600): # Initialize Serial Connection # Use 'COM3' for Windows or '/dev/ttyACM0' for most Arduinos on Linux/Pi self.ser = serial.Serial(port, baudrate, timeout=0.1)
# UI Setup self.app = QtWidgets.QApplication([]) self.win = pg.GraphicsLayoutWidget(show=True, title="Laboratorio Gluon: Serial Monitor") self.plot = self.win.addPlot(title="Real-Time Sensor Feed") self.curve = self.plot.plot(pen='g') # Green for a "Matrix" feel
self.data_buffer = np.zeros(200) # Store the last 200 readings
# Timer setup self.timer = QtCore.QTimer() self.timer.timeout.connect(self.update) self.timer.start(10) # High frequency update
def update(self): # Read all available data from the serial buffer while self.ser.in_waiting > 0: try: line = self.ser.readline().decode('utf-8').strip() if line: value = float(line)
# Update data buffer self.data_buffer[:-1] = self.data_buffer[1:] self.data_buffer[-1] = value except ValueError: pass # Ignore corrupted lines or headers
# Update the plot with the new buffer self.curve.setData(self.data_buffer)
def run(self): self.app.exec() self.ser.close() # Clean up the port when closing
if __name__ == '__main__': # Adjust port name based on your OS monitor = RealTimeSerialPlot(port='/dev/ttyUSB0', baudrate=115200) monitor.run()Notice the while self.ser.in_waiting > 0:. This is critical.
If your sensor sends data faster than your QTimer refreshes, the serial buffer will fill up, and your graph will show “old” data (lag).
This loop clears the entire buffer in every frame so you always see the latest value.
Sending data from Arduino
The previous script wanted the data in a float number, one data per line. This can be implemented in many ways. The easiest one Arduino:
void loop() { Serial.println(analogRead(A0)); // Just the number and a newline delay(10);}